


Designing die struck pins is quite different than traditional graphic design for print or web. You require specialized knowledge about the manufacturing process and metal finishing techniques. This video helps customers and designers visualize the paint and metal elements in enamel pins, medals and coins.
There are three things that novice buyers and designers often struggle to understand when designing die struck pins.
- the final size of most pins, medals and coins is 1″ – 3″. Most designers submit art that is four times that size. When we reduce the design to actual size, the details get lost.
- the art needs to be separated into metal areas and painted areas. We need a contained area to hold the liquid epoxy.
- we often edit our customers art to accommodate the metal/paint separation process. Many buyers have problems “seeing” the different elements in die struck pins. For this reason we often convert text, lines and other details to raised metal. You can only have one colour of base metal (ie- gold, silver, bronze and more recently black, pink or white using a new process called dyed metal)
This video will show you a number of different lapel pin designs and how we separated the art into metal and painted areas.
If you enjoyed this information consider viewing our blog enamelpin.info or taking our free 8 part course for designers.
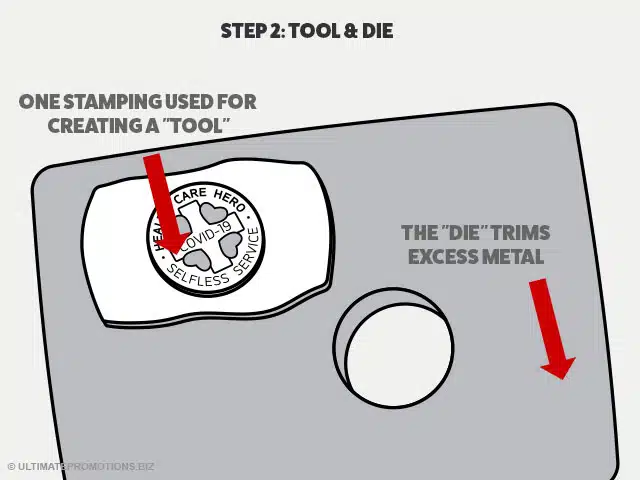
What does “Die Struck” even mean?
This term “die struck pins” describes a method of manufacturing. Once you submit your enamel pin art to our factory, we create a “tool” and a “die”. This is common machine shop terminology. As the term suggests we place a metal strip overtop of the “tool” (the stamping mold” and then trim the excess using a trimming “die”.
This image is from a more in depth article. If you want to learn about the 8 steps required to make a die struck pin, medal or coin, click here.